
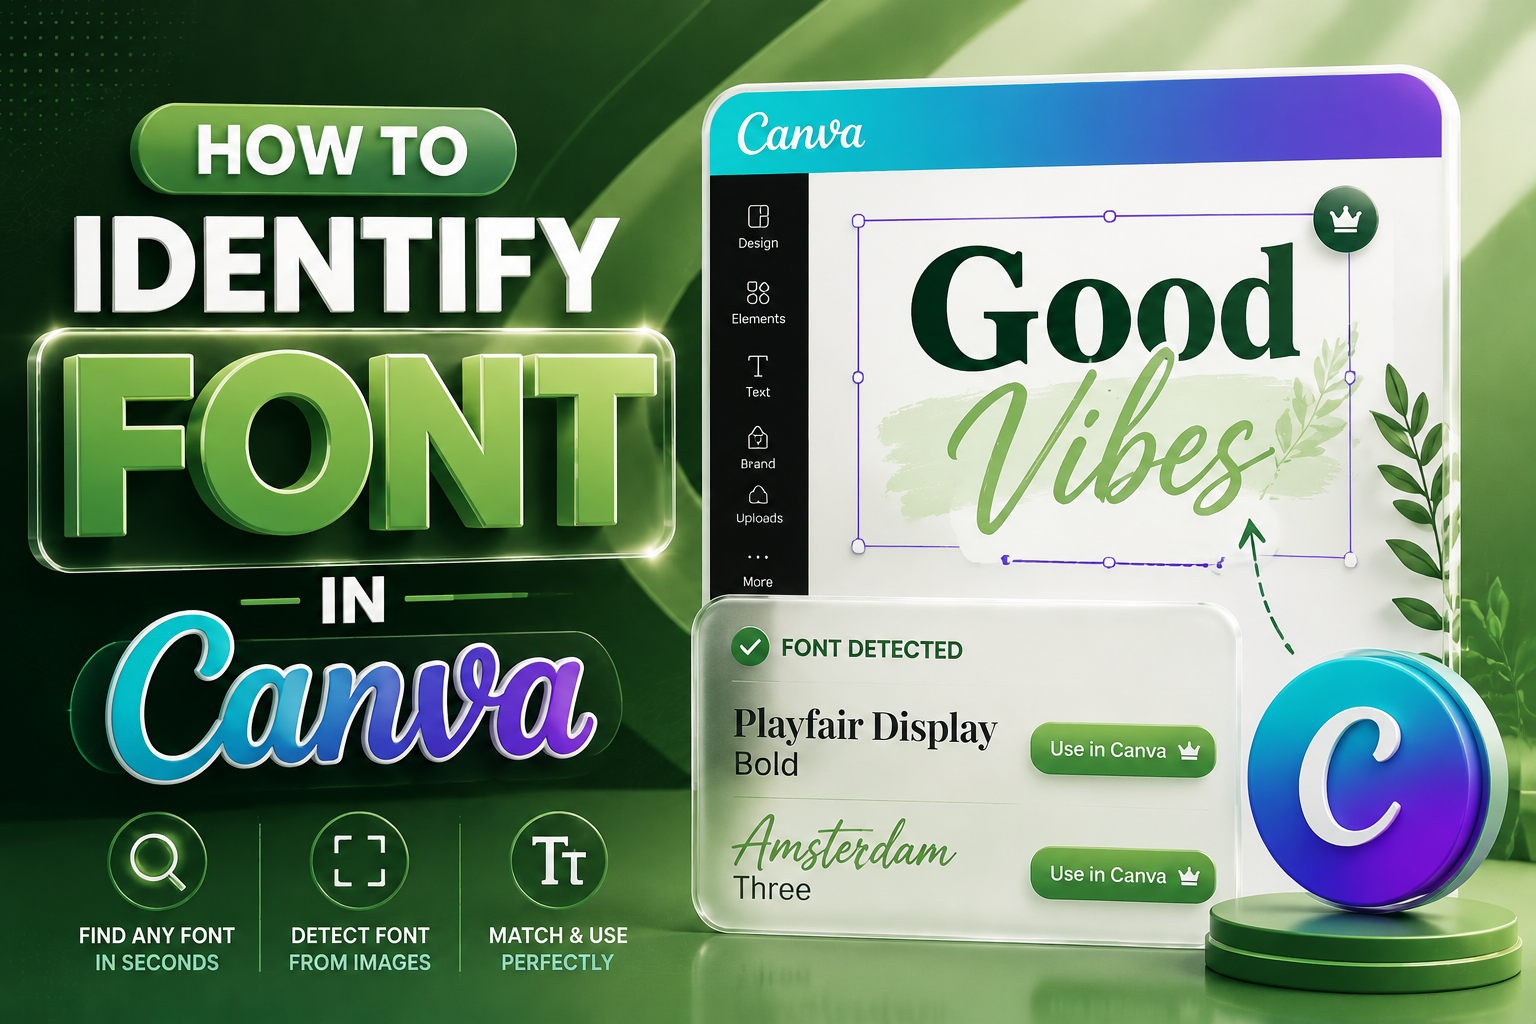
How to identify font in canva is a common question when you see a logo, poster, social post, or brand design and want to recreate the same style without guessing. Canva gives you a large font library, but it does not automatically name a font from an uploaded image, so you need a practical matching process.
This guide shows you how to compare fonts, use finder tools, check licensing, and create polished Canva designs with better font decisions.
How To Identify Font In Canva Without Guessing
The easiest way to start is to place the reference design beside your editable Canva text and compare both samples closely. You should look at the shape of letters, the thickness of strokes, the height of lowercase letters, the spacing between characters, and the mood of the typeface.
If your design also needs stylized text for captions, bios, or social posts, a font styling tool like create top-quality copy paste ready font styles can help you create decorative text formats while you keep your Canva font matching process organized.
Font identification works best when you stop looking at the full word and start studying individual letters. Letters such as “a,” “g,” “e,” “R,” and “Q” often reveal the font family faster because designers draw them in very distinct ways. A font may look like a common sans serif at first, but the curve of one letter or the angle of one terminal can point you toward a closer match.
You should also separate font matching from design matching. A design may look different because of letter spacing, bold weight, shadow, outline, curve effects, or all-caps styling. Before you decide the font is wrong, adjust the size, weight, spacing, and case inside Canva, because those small changes can make a near match look almost identical.
Why Canva Font Identification Can Feel Difficult
Canva makes design simple, but font identification is still partly manual because the platform does not provide a built-in “upload image and detect font” feature. That means you cannot drop in a screenshot and expect Canva to instantly reveal the exact typeface used. Instead, you need to combine Canva’s font search, visual judgment, and external font recognition tools when manual comparison is not enough.
The challenge also comes from how many fonts look similar at first glance. A clean geometric sans serif, for example, may resemble several different Canva fonts until you compare the “a,” “t,” and “g” more carefully. Serif fonts can be even trickier because small differences in bracket shape, stroke contrast, and letter width can change the whole personality of the typeface.
Another issue is that the original design may not use a Canva font at all. It may use a paid desktop font, a custom brand font, or a modified logo type that does not exist as a public font. When that happens, your goal should shift from finding the exact font to finding the closest Canva-safe alternative that keeps the same tone, readability, and brand feeling.
Match The Font Style Before Searching Names
Before searching font names, identify the broad category of the font you are trying to match. Ask whether it is serif, sans serif, script, display, handwritten, monospace, condensed, rounded, or geometric. This first step narrows your search and prevents you from wasting time comparing fonts that belong to the wrong style family.
If you create content regularly, your font workflow should connect with your broader publishing process. Strong visual content often needs clear written structure too, and a resource like how content generators work and how to use them effectively explains how content tools support planning, drafting, and refinement when you want faster creative output. That same organized mindset helps font matching because you move from broad style recognition to careful visual comparison instead of jumping randomly through Canva’s font menu.
A serif font usually has small feet or finishing strokes at the ends of letters, while a sans serif font looks cleaner and more modern. Script fonts imitate handwriting or calligraphy, and display fonts are usually bold, decorative, and better suited for titles than body text. Once you know the style, Canva’s font dropdown becomes easier to use because your search has direction.
Use A Clear Screenshot For Better Matching
Your font search is only as good as your reference image. A blurry screenshot, angled photo, compressed social image, or cropped logo can hide the details you need to identify the font correctly. Use the clearest version you can find, and make sure the letters are large enough to inspect without distortion.
For projects that combine design and written messaging, you may also need help shaping the words before styling them. A guide like what is an AI writing assistant explains how writing assistants support idea development, editing, and clarity, which matters when your Canva design depends on strong copy as well as attractive typography. Better wording gives your font test a realistic sample, because a font can look good in one short word but weak in a full headline.
When possible, crop the image so the font sample is the focus. Remove background clutter, icons, borders, and extra graphics that may confuse a font recognition tool. If the text is curved, shadowed, outlined, or heavily stylized, create a cleaner sample by using the flattest and most readable part of the design.
Compare Letter Shapes Inside Canva
After preparing your reference, upload it to Canva and place it on one side of your design page. Add a text box beside it and type the exact same word or phrase from the image. This method works because your eyes can compare shape, width, height, spacing, and rhythm more accurately when both samples sit side by side.
Start with Canva’s font search and try broad terms related to the style. Search words such as “modern,” “serif,” “rounded,” “script,” “bold,” “condensed,” or “handwritten” if you do not know the font name. Canva may not understand every descriptive term perfectly, but this approach often surfaces similar fonts faster than scrolling through the full library.
Once you find a possible match, adjust the size first, then the weight, then the letter spacing. Many people reject the correct font too early because the size or spacing does not match the reference. A font that looks wrong at 48 pixels may look right at 44 pixels with slightly tighter tracking.
Use Font Finder Tools When Canva Is Not Enough
If manual matching takes too long, use a font finder tool outside Canva. Tools such as WhatTheFont, WhatFontIs, Fontspring Matcherator, and FontSquirrel Matcherator can analyze an uploaded image and suggest similar font names. These tools are not perfect, but they can give you a shortlist that is much faster than guessing from scratch.
The best process is simple: upload the clearest text image, review the suggested font names, then search those names inside Canva. If Canva has the exact font, apply it and compare it with your reference. If Canva does not have it, search for similar-looking alternatives by style, shape, and weight.
Do not rely on the first result blindly. Font finder tools may confuse similar fonts, especially when the text is small, distorted, or customized. Treat the results as educated suggestions, then confirm the match by comparing letters inside Canva.
Check Whether The Font Exists In Canva
Once you have a possible font name, open your Canva design and select a text box. Click the font dropdown, type the font name into the search field, and see whether Canva lists it. If it appears, apply it and compare the letters with your reference before making a final decision.
Some fonts may have slightly different names in Canva than they do on other platforms. For example, a font family may include multiple styles, weights, or related versions that appear separately. Try searching the main family name first, then test available weights such as regular, medium, semi bold, bold, or extra bold.
If the exact font is missing, do not force a bad match. Look for a Canva font with the same personality instead. For branding, the closest visual match is often better than a technically similar font that feels wrong for the audience.
Upload A Licensed Font Through Brand Kit
If you use Canva Pro, Canva Teams, Canva for Education, or another plan with Brand Kit access, you may be able to upload a custom font. Canva commonly supports font files such as OTF, TTF, and WOFF, but you should always confirm that your plan and file type are accepted. Uploading a font can be useful when a client gives you a brand font that is not available in Canva’s default library.
Licensing matters more than many beginners realize. Just because you found a font file online does not mean you can use it in commercial designs, client work, ads, packaging, or logos. Always check the license and make sure you have permission before uploading or using the font in Canva.
After uploading the font, add it to the right Brand Kit so your team can find it easily. Give the font a clear role, such as headline, subheading, or body font. This prevents inconsistent usage and helps every future Canva design stay aligned with the brand.
Choose The Closest Canva Alternative
Sometimes the exact font is unavailable, too expensive, or legally restricted. In that case, your goal is to choose the closest practical alternative inside Canva. A strong alternative should match the same visual mood, not just the same category.
Look at the font’s personality before you decide. A rounded sans serif may feel friendly and casual, while a sharp geometric sans serif may feel modern and confident. A classic serif may feel editorial and trustworthy, while a high-contrast serif may feel elegant and premium.
Test the alternative in the real design, not on a blank page only. Fonts behave differently depending on background, color, spacing, image placement, and line breaks. If the design still feels balanced after replacing the font, you have likely found a useful Canva match.
Avoid Common Font Matching Mistakes
One common mistake is matching only the weight of a font and ignoring its structure. Two fonts can both be bold, but one may be wide, rounded, and playful while the other is narrow, sharp, and formal. If the structure is wrong, the design will still feel different even when the thickness looks similar.
Another mistake is using decorative fonts for long paragraphs. Display, script, and handwritten fonts can look beautiful in short headings, but they often become tiring in body text. If readers have to work too hard to read the words, the design has failed even if the font looks attractive.
You should also avoid mixing too many fonts in one Canva project. A clean design usually needs one font for headings and one font for supporting text. A third font can work for accents, but anything beyond that often makes the layout feel noisy and unplanned.
Build A Simple Font Pairing System
Once you identify the font or choose a close match, decide how it should work with other text in the design. A headline font should create attention, while body text should stay readable at smaller sizes. This balance keeps your Canva project attractive without sacrificing clarity.
A practical system uses one strong font for headlines and one simple font for body copy. If the headline font is decorative, pair it with a neutral sans serif. If the headline font is clean and minimal, you can pair it with a warmer serif or a slightly softer supporting font.
Write down your chosen fonts, sizes, weights, and spacing settings. This turns a one-time design choice into a repeatable brand style. It also saves time when you create future social posts, presentations, flyers, thumbnails, or ads.
Test Readability Before Publishing
Font matching should never come at the expense of readability. A font may look nearly identical to the reference, but it still needs to work for your actual audience, screen size, and design purpose. This is especially important for mobile users, because small text can become hard to read quickly.
Check the design at different sizes before downloading it. Zoom out, preview it on a phone if possible, and make sure headings, subheadings, and calls to action remain clear. If the design is for social media, remember that many people will see it while scrolling fast.
Also test contrast between the text and background. Even the right font can look weak if the color contrast is poor. Make sure the text stands apart clearly, especially when placed over photos, gradients, or busy design elements.
Organize Fonts For Future Canva Projects
After you identify a font in Canva, do not leave the discovery buried in one design file. Save it in your Brand Kit, style guide, or project notes so you can reuse it without repeating the whole search process. Good organization helps you build a consistent visual identity across every design.
Create a small font reference page inside Canva if you work with multiple brands or clients. Include the font name, preferred weights, sample headline, sample body text, and notes about where to use it. This simple page can prevent inconsistent designs and reduce back-and-forth during future projects.
You can also save templates with the correct font settings already applied. Templates are faster than rebuilding every layout from scratch. They also protect your brand from random font choices that weaken recognition over time.
Conclusion
how to identify font in canva becomes much easier when you follow a clear process instead of guessing from memory. Start with a clean screenshot, identify the font category, compare letter shapes inside Canva, use font finder tools when needed, and check whether the exact font exists in Canva’s library. If the font is missing, choose a close alternative or upload a licensed font through Brand Kit when your plan allows it.
The best Canva font match is not always the font with the closest name. It is the font that preserves the original design’s mood, readability, spacing, and brand personality. When you combine careful comparison with smart design judgment, you can create Canva projects that look polished, consistent, and intentional.